How to Install a Home EV Charging Station
22 May 2025
Electric vehicles (EVs) are taking over the roads, and if you've recently joined the EV revolution, installing a home charging station is one of the smartest upgrades you can make. No more waiting at public chargers—you'll have the convenience of waking up every morning to a fully charged car.
But how do you install a home EV charging station? Is it complicated? Do you need an electrician? Don't worry—I’ve got you covered. Let’s break it down step by step. 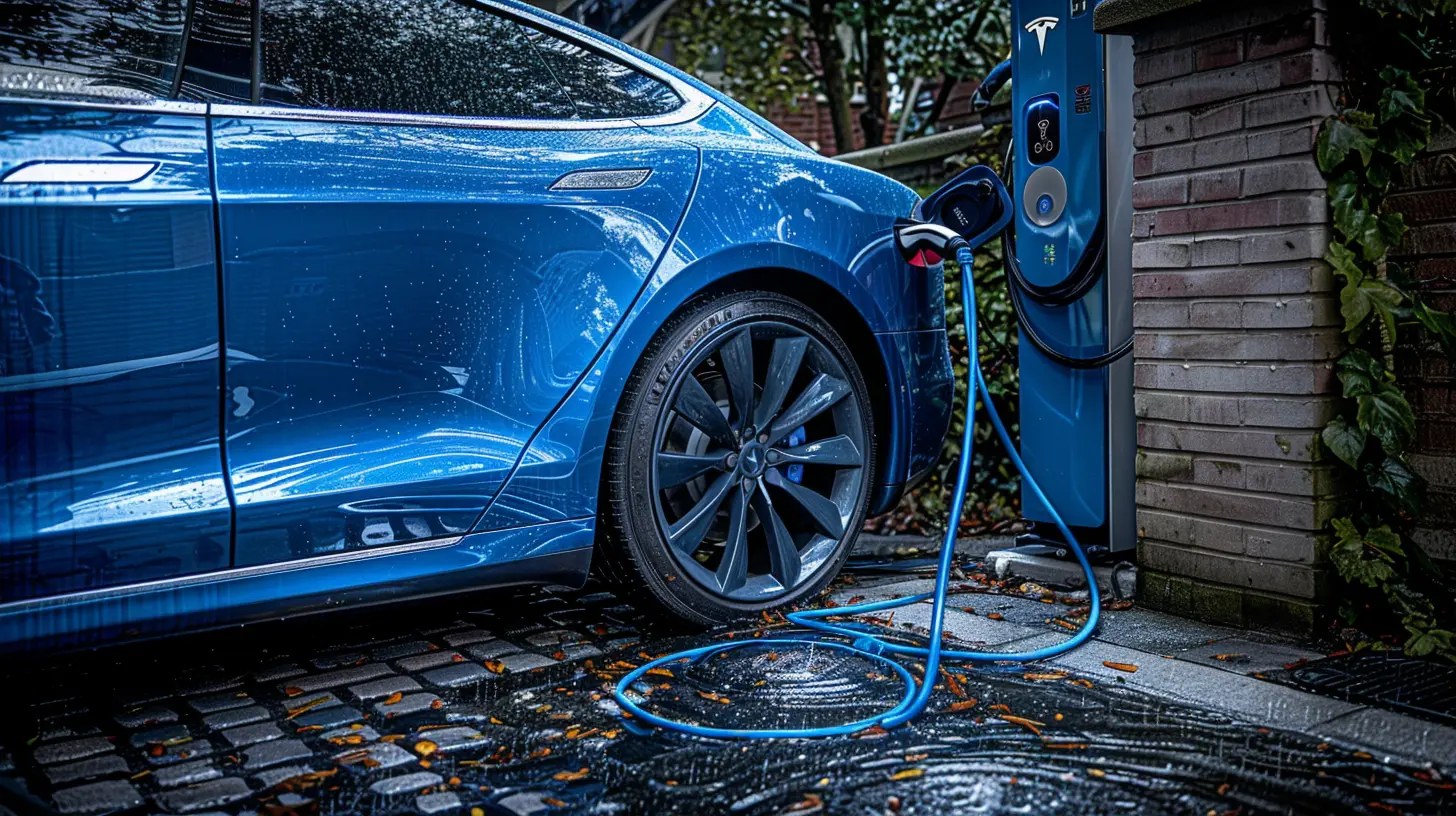
Why Install a Home EV Charging Station?
Before we get into the nitty-gritty, let’s talk about why you should invest in a home charging setup.- Convenience: Charge overnight and never worry about finding a public station.
- Cost Savings: Home charging is cheaper than public stations in the long run.
- Faster Charging: A dedicated Level 2 charger significantly reduces charging time compared to a standard wall outlet.
Now that you’re convinced, let’s move on to the installation process. 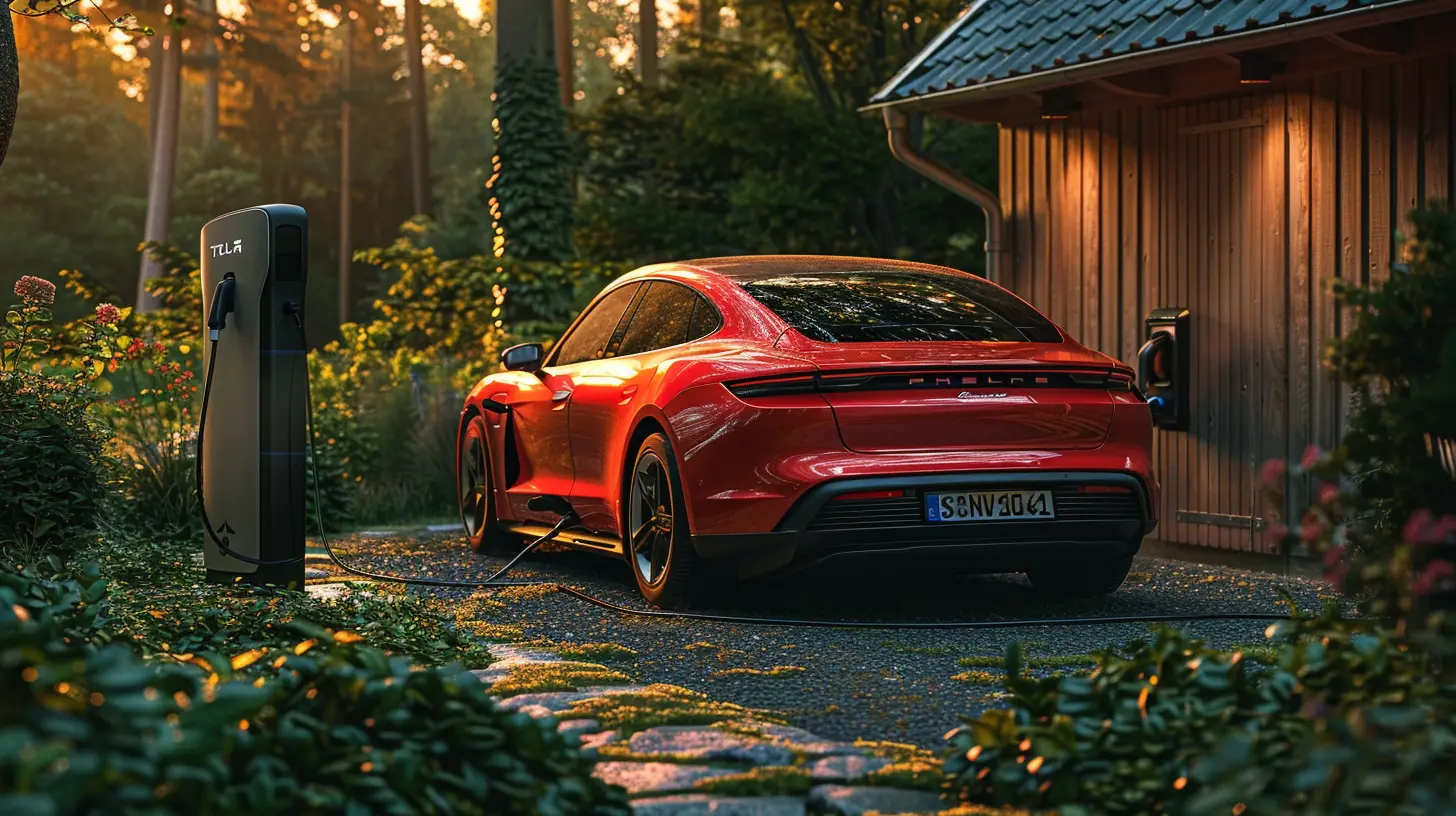
Step 1: Choose the Right EV Charger
Not all EV chargers are created equal. You need to pick one that suits your vehicle and home setup.Types of EV Chargers
1. Level 1 Charger (120V)- Comes with most EVs
- Plugs into a standard household outlet
- Very slow (adds ~3-5 miles per hour of charging)
2. Level 2 Charger (240V)
- Requires a dedicated 240V circuit
- Charges much faster (~25-40 miles per hour)
- The best choice for home charging
Level 2 chargers are the go-to choice because they offer fast and efficient charging.
Key Features to Consider
- Power Output: 16A, 32A, or 40A? Higher amps mean faster charging, but make sure your electrical panel can handle it.- Smart Features: Some chargers come with Wi-Fi connectivity and mobile apps for tracking energy usage.
- Cord Length: A longer cord gives you more flexibility in placing the charger.
- Plug-in vs. Hardwired: Plug-in chargers are easier to install, while hardwired units may be more reliable in the long run.
Once you’ve picked your ideal charger, it's time to get your home ready. 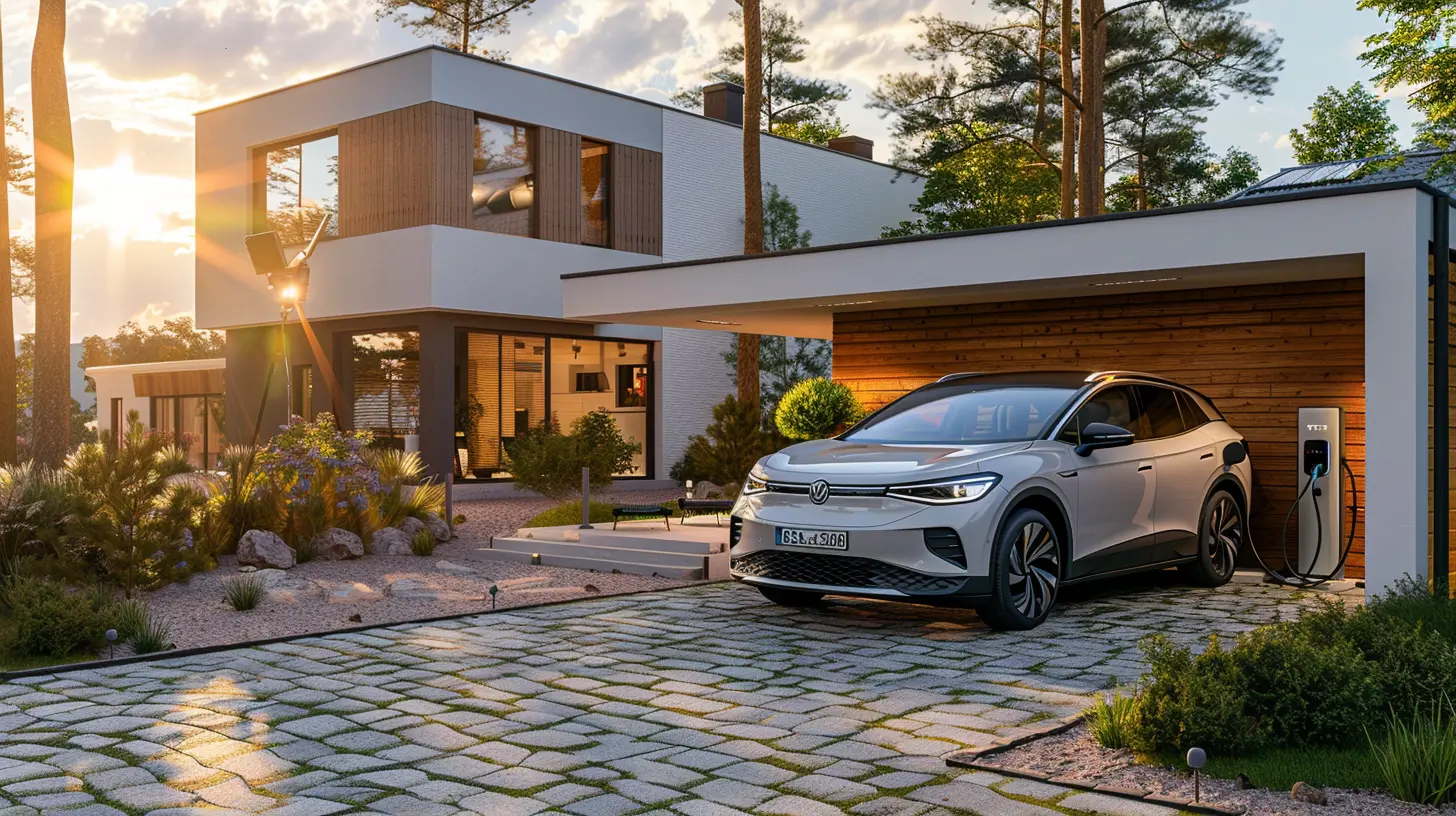
Step 2: Check Your Electrical Capacity
Before jumping into the installation, you need to make sure your home's electrical system can handle the additional load.Assess Your Electrical Panel
Most homes have a 100-amp or 200-amp electrical panel. A Level 2 charger typically requires a 240V circuit with a dedicated 40-50 amp breaker.- If your panel has enough capacity, great!
- If not, you might need an electrical panel upgrade, which will require professional help.
How to Check Your Panel’s Capacity
1. Locate your main electrical panel (usually in the garage, basement, or outside).2. Open the panel and check the existing breakers—look for available space and total capacity.
3. If unsure, consult an electrician to evaluate your system.
If all looks good, let’s move on to the installation. 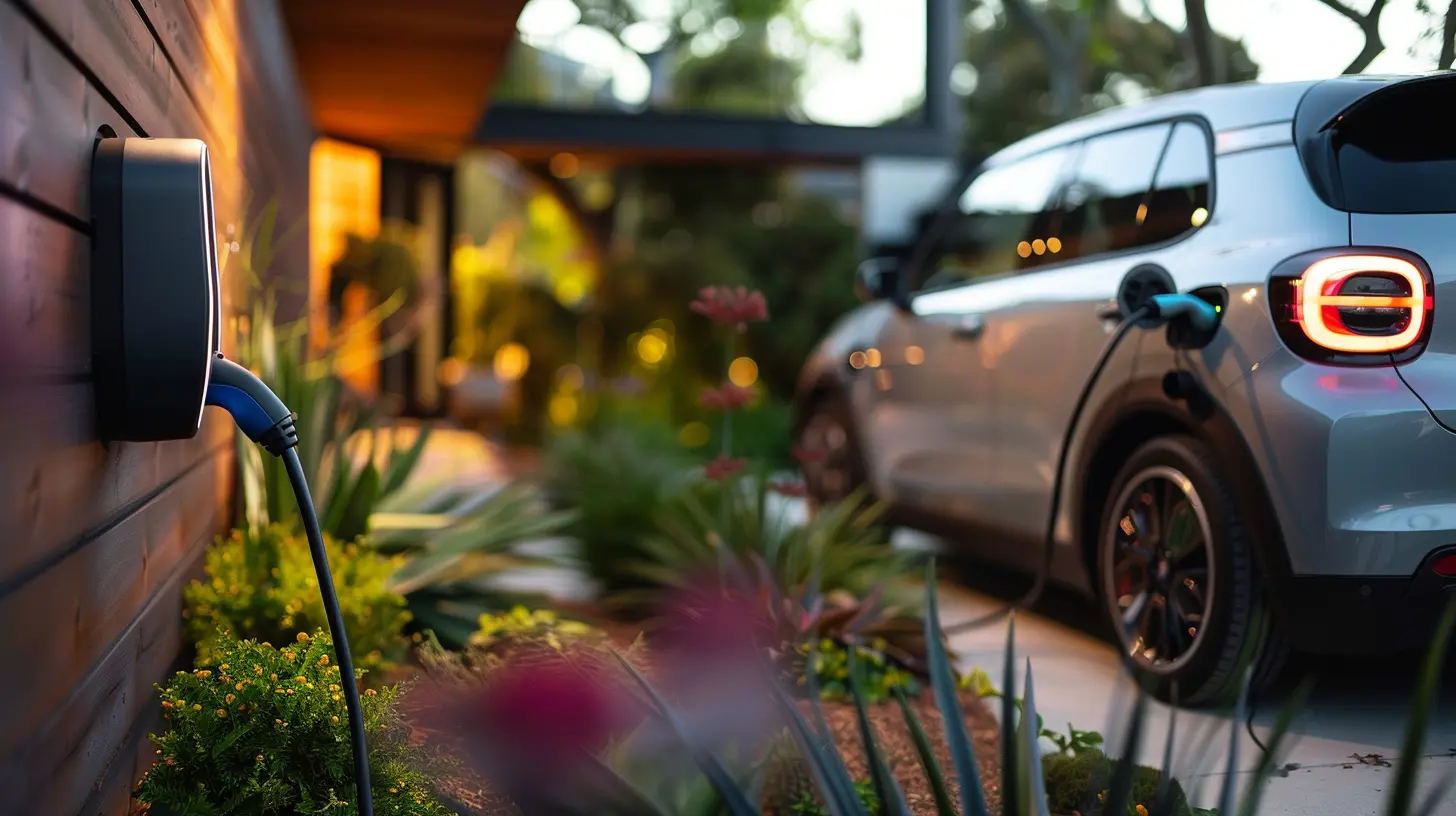
Step 3: Install the 240V Circuit
Level 2 EV chargers need a dedicated 240V outlet, which isn’t something most homes come with by default.DIY vs. Hiring an Electrician
- If you’re experienced with electrical work, you may be able to install the circuit yourself.- If you’re not experienced, it’s best to hire a licensed electrician—dealing with high-voltage wiring is risky.
Steps for Installing a 240V Circuit
1. Turn Off the Power – Safety first! Always shut off the breaker before working.2. Install the 240V Breaker – This will need to match your EV charger's amperage requirement.
3. Run the Wiring – Use the appropriate gauge wiring (8 AWG or heavier) from the panel to your charging location.
4. Install the Outlet or Hardwire – If you’re using a plug-in charger, install a NEMA 14-50 or similar outlet. If hardwiring, secure the electrical connections directly.
5. Mount the Charger – Attach your EV charger to the wall using the provided mounting bracket.
6. Test the Connection – Once everything is connected, restore power and test your system.
Step 4: Set Up and Configure Your EV Charger
After the physical installation, you’ll need to set up your charger for optimal performance.Basic Setup
- Plug in the Charger – If you installed an outlet, simply plug in your charger.- Connect to Wi-Fi – If your charger has smart features, connect it to your home network.
- Download the App – Many modern chargers have apps that let you monitor charging sessions and schedule charging times.
Optimize Charging Settings
- Set Charging Times: Schedule charging during off-peak hours to save on electricity costs.- Monitor Energy Usage: Keep track of how much power you're using.
- Enable Safety Features: Some apps let you set safety limits to prevent overloading your system.
Step 5: Final Checks and Maintenance Tips
Before you start daily charging, do these final checks:✅ Ensure cables are properly secured and not in the way.
✅ Check for any electrical issues or overheating.
✅ Keep an eye on your electricity bill to monitor usage.
Ongoing Maintenance
- Inspect your charger and cables monthly for wear and tear.- Keep the charging area clean and free from obstructions.
- Update firmware if your charger has smart features.
Frequently Asked Questions (FAQs)
1. Can I Install an EV Charger Myself?
Yes, if you have experience with electrical work. Otherwise, it’s best to hire a professional.2. How Much Does It Cost to Install a Home EV Charger?
The total cost ranges from $500 to $2,000 depending on the charger type and electrical work needed.3. Do I Need a Permit for Installation?
In many areas, yes. Check with your local municipality before installation.4. Will an EV Charger Increase My Electricity Bill?
Yes, but home charging is usually cheaper than using public chargers. You can reduce costs by charging during off-peak hours.5. Can I Use Solar Power to Charge My EV?
Absolutely! If you have solar panels, you can set up a system to charge your EV with clean energy.Final Thoughts
Installing a home EV charging station is one of the best investments you can make as an electric vehicle owner. Not only does it offer unmatched convenience, but it also saves money in the long run.While the installation might seem daunting at first, following these steps will help you set up your charger smoothly and safely. And if you’re ever unsure, don’t hesitate to call in a pro—better safe than sorry when dealing with high-voltage electricity!
Now, go ahead and enjoy the perks of home charging—your EV (and your wallet) will thank you.
all images in this post were generated using AI tools
Category:
Electric VehiclesAuthor:

Vincent Hubbard
Discussion
rate this article
3 comments
Kenneth Fisher
Empower your journey—charge up for a greener future!
May 31, 2025 at 11:02 AM
Vincent Hubbard
Thank you! Every step towards sustainable energy makes a difference. Let's drive change together!
Zander Abbott
Great article! Installing a home EV charging station can be a game-changer for eco-conscious drivers. Your step-by-step guide makes it accessible for everyone, whether you're tech-savvy or a beginner. Excited to empower our green journeys with convenient charging right at home—thanks for sharing these insights!
May 29, 2025 at 12:15 PM
Vincent Hubbard
Thank you for your kind words! I'm glad you found the guide helpful—happy charging!
Selah Abbott
As we transition to electric vehicles, installing a home EV charging station reflects our commitment to sustainability and innovation. This choice empowers individuals to harness renewable energy, reduce emissions, and foster a cleaner environment. By embracing technology, we not only enhance convenience but also contribute to a greener future for generations to come.
May 26, 2025 at 4:46 AM
Vincent Hubbard
Thank you for your insightful comment! Installing a home EV charging station is indeed a crucial step towards sustainability and a greener future.