How to Set Up a NAS for Home Data Storage
26 July 2026
Do you ever find yourself drowning in files, family photos, random videos, and important documents spread across a laptop, desktop, and half a dozen flash drives? Yep, it’s a digital mess. But there’s a savior hiding in plain sight—setting up a NAS (Network Attached Storage) for your home.
Now, before you start thinking, "That sounds super technical," hang tight. I promise, it’s not rocket science. I’ll walk you through everything, step by step, minus the jargon overload. By the end of this, you’ll be running your own personal cloud at home—like your own mini Google Drive but way cooler and private.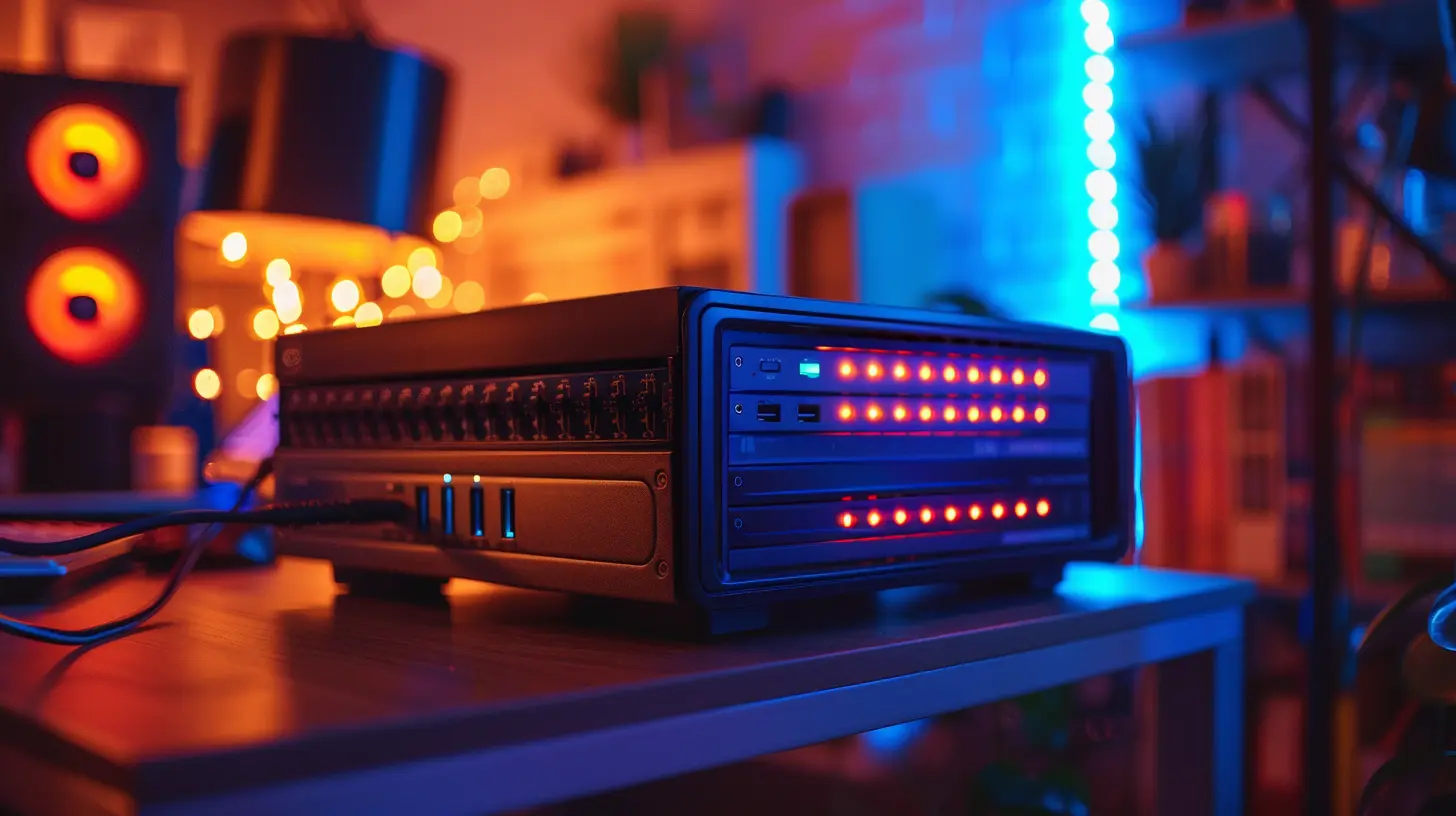
? What Is a NAS and Why Should You Care?
First things first—what on earth is a NAS?A NAS is a storage device connected to your home network so that anyone with permission (you, your family, even guests) can store, access, and manage files wirelessly. Think of it as a high-tech filing cabinet that everyone in your home can open from any device connected to Wi-Fi.
It’s like Dropbox… but all your files are sitting in your living room instead of on some unknown server halfway across the world.
Here’s WHY you absolutely need a NAS:
- ? Centralized storage—no more scavenger hunts for files across devices.
- ? Smart backups—automatically back up your devices without lifting a finger.
- ???? Family sharing—photos, movies, documents? Share it all.
- ? Privacy—your data lives on YOUR hardware. Not the cloud’s.
- ? Media streaming—transform your NAS into a personal Netflix!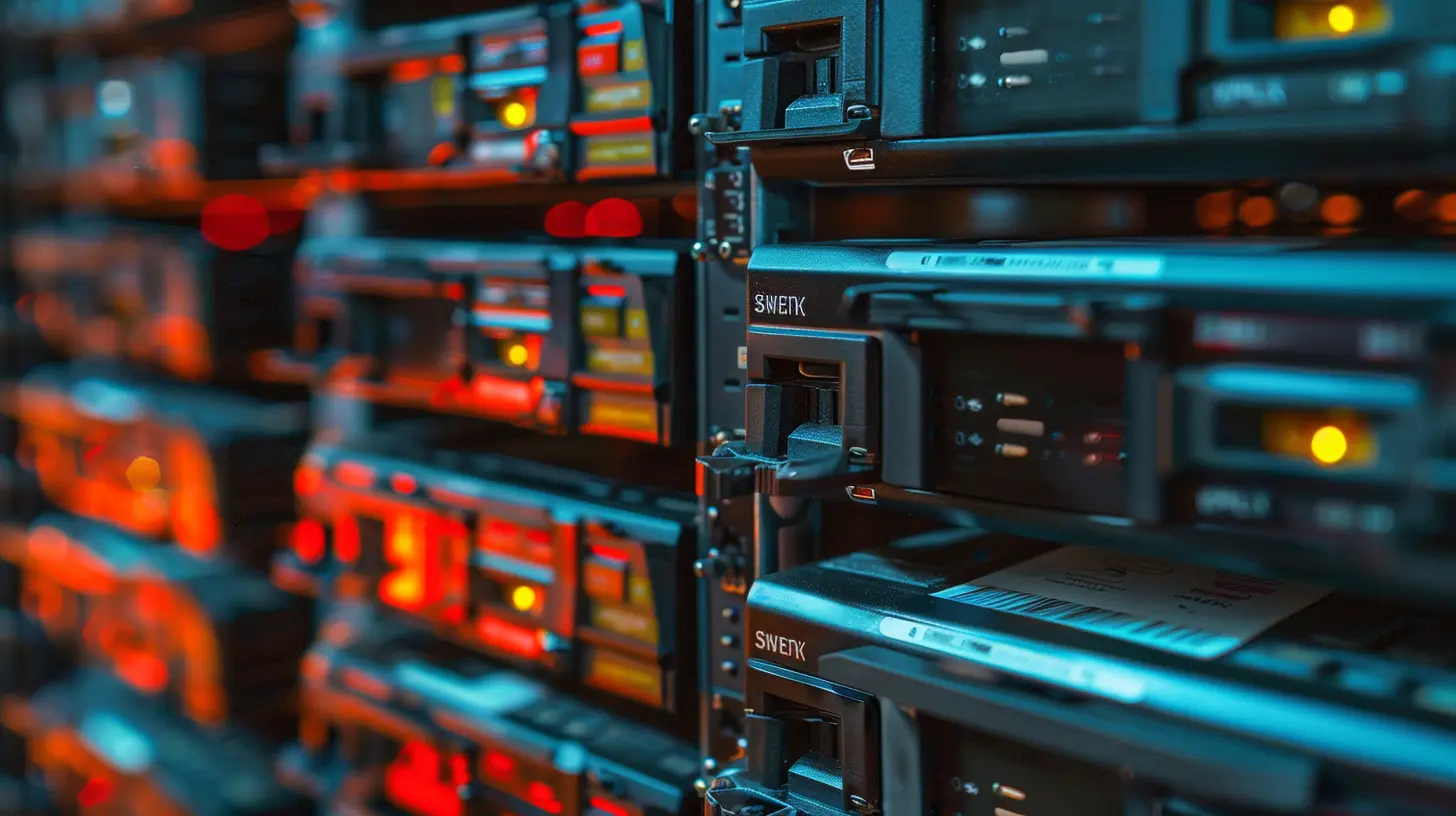
? What You Need Before You Start
Let’s get down to brass tacks. Here’s what you’ll need to set up your home NAS:1. A NAS Device
You’ve got two choices:- Off-the-Shelf NAS Systems — Like Synology, QNAP, or Western Digital My Cloud. These are plug-and-play.
- DIY NAS Build — If you’re feeling geeky, grab an old PC, install NAS software (like FreeNAS or TrueNAS), and build your own.
Going for plug-and-play? Synology is a solid bet for beginners.
2. Hard Drives
NAS systems often don’t come with drives installed. Pick NAS-grade drives like WD Red or Seagate IronWolf—they’re built to run 24/7.Pro tip: Use at least two drives and RAID for redundancy. If one fails, your data is still safe.
3. Router and Ethernet Cables
Your NAS will plug directly into your router. You can access it wirelessly from there, but wired connections for the NAS itself are crucial for speed and stability.4. A Computer or Smartphone
You’ll use this to configure your NAS and access it. No surprises here.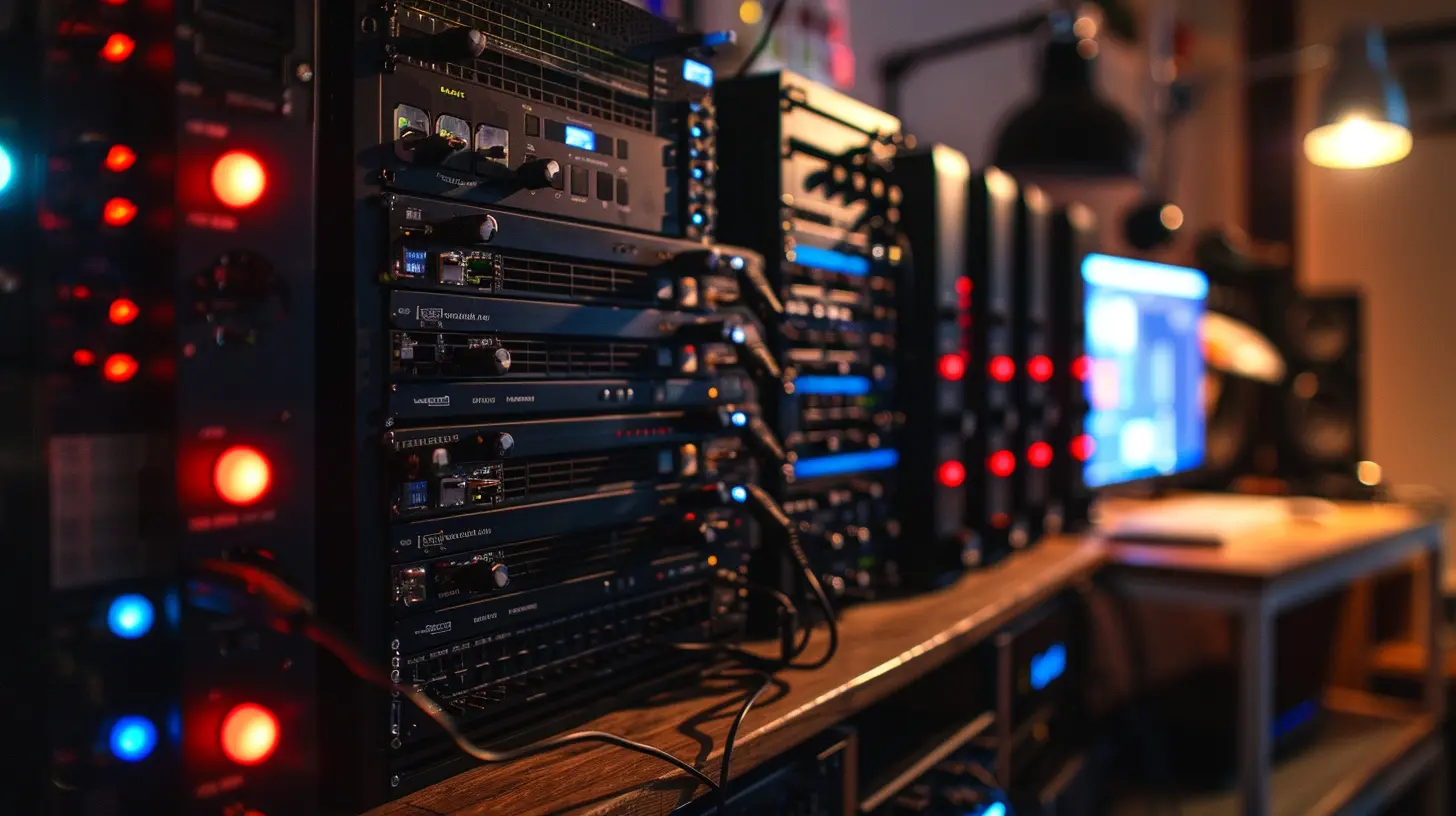
?️ Step-by-Step: Setting Up Your NAS at Home
Alright, let’s roll up the sleeves and dive in.Step 1: Install the Hard Drives
Open up your NAS case and slide in your hard drives. It’s usually just a matter of screwing the drives into trays and sliding them into place. Easy peasy.Step 2: Connect NAS to Your Router
Connect your NAS to your home router using an Ethernet cable. This gives it a stable network connection. Plug the NAS into a power outlet and turn it on.Step 3: Initial Configuration
Fire up your browser and enter the IP address of the NAS (usually printed on a sticker or shown in the router dashboard). Alternatively, most NAS manufacturers provide a “find my NAS” software or app.Once you’re in:
- Set up an admin username and password.
- Choose your RAID configuration (RAID 1 is safest for beginners).
- Format the drives if prompted.
Don’t panic—these setup wizards usually guide you every step of the way.
Step 4: Create Shared Folders
Next, set up shared folders. You can create folders like:- /Photos
- /Videos
- /Backups
- /WorkDocs
Assign user permissions if you want certain family members to have access to specific folders.
Step 5: Install NAS Apps
Most NAS systems come equipped with app stores (yep, just like your phone). You can install:- A media server (Plex or DLNA, for streaming movies)
- Backup apps (Time Machine for Mac, Active Backup for Windows)
- Surveillance station (if you have security cams)
- Cloud sync tools (sync with Google Drive or Dropbox)
This is where the fun begins. Customize it to your heart’s content.
? Setting Up Backups (So You Never Lose Files Again)
This is where your NAS really shines.Backup Your Computers
For Windows users: Use software like Acronis or the NAS manufacturer's tools to automate backups.For Mac users: Set up Time Machine to back up to your NAS. Just point Time Machine to the NAS folder from your Mac’s backup settings.
Backup Your Phones and Tablets
Most NAS apps (like Synology’s DS File or Moments) let you auto-upload photos and videos from mobile devices directly to the NAS. No more “Storage Full” notifications!? Stream Media Like a Boss
You’ve got a home theater? Or maybe a living room TV with a Chromecast, Fire Stick, or Apple TV? Your NAS can be the heart of your home entertainment center.Install Plex or Jellyfin
Both are free and let you organize your movie and TV show collections with stunning visuals, posters, summaries, and trailers. It's Netflix—but it's YOUR content.You can stream from your NAS to any device with the Plex app: Smart TVs, tablets, even your phone when you're not home.
? Access Files Remotely
Want to grab a document while you’re on vacation? Easily done.Most NAS units let you set up remote access. You’ll need to:
- Enable QuickConnect (for Synology) or equivalent services.
- Set up DDNS (Dynamic DNS) for easy web access.
- Use two-factor authentication for security.
Boom. Now your data is available from anywhere on Earth—securely.
? Keep It Secure (Because Hackers Never Take a Day Off)
You don’t want your shiny new NAS becoming a playground for cybercriminals. Here’s how to lock it down:- Change default admin passwords.
- Enable firewalls and secure access ports.
- Set up HTTPS access.
- Keep firmware and software up to date.
- Use strong, unique passwords per user.
- Enable two-factor authentication.
Remember, with great storage power comes great security responsibility.
?️ Bonus Tips: Making Your NAS Even Smarter
1. Automate Everything – Schedule backups, downloads, software updates.2. Surveillance Station Integration – Need home security? NAS can record and store feeds from IP cameras.
3. Download Station – Automate torrent downloads directly onto the NAS. (Just keep it legal, folks.)
4. Smart Home Integration – Some NAS systems can sync with smart home devices. Tinker away if you’re into that sort of thing!
⚖️ Should You Buy or Build Your NAS?
Let’s break it down.| Feature | Plug-and-Play NAS | DIY NAS |
|--------|------------------|---------|
| Cost | More expensive initially | Lower cost, depending on parts |
| Setup | Beginner-friendly | Requires tech-savvy |
| Customization | Limited | Complete freedom |
| Power Consumption | Low | Can be high |
| Performance | Good | Great (if built right) |
So, if you want a hassle-free setup, grab a pre-built NAS. If you want full control and don’t mind getting your hands dirty, build your own.
? Conclusion: Welcome to the World of Personal Cloud Storage
Setting up a NAS for home data storage isn’t just about having a place to dump your files. It’s about peace of mind. It’s about taking back control over your digital life.From family memories to priceless work docs, a NAS gives you one central, secure, and easy-to-access place for everything. And thanks to smart features and remote access, it turns your home into a data fortress and media hub all rolled into one.
Seriously, once it’s up and running, you’ll wonder how you ever lived without one.
So, what are you waiting for? Start your NAS journey today—you’ve got the tools, the know-how, and a mountain of data that deserves a proper home.
all images in this post were generated using AI tools
Category:
Tech TutorialsAuthor:

Vincent Hubbard