Quick Tips for Improving Smartphone Camera Quality
10 June 2025
Smartphone cameras have come a long way, haven’t they? We’ve gone from grainy, low-res snapshots to DSLR-like portraits all in the palm of our hands. But let’s be real—just because your phone has a fancy camera on paper doesn’t mean you’re getting those jaw-dropping shots every time you hit the shutter button.
If you've ever looked at your photos and thought, “Why does this look nothing like what I see in real life?”, don’t worry, you’re not alone. The good news? There are lots of super simple tricks to help squeeze every last bit of quality out of your smartphone camera.
So, grab your phone, roll up your sleeves (metaphorically), and let’s dive into these quick and easy (yet game-changing) tips that'll make your smartphone photos stand out like a pro's.
1. Clean Your Lens – Seriously, Clean It
Let’s kick things off with the most obvious yet most ignored tip ever: wipe your lens. Your phone hangs out in your pocket, bag, or hand all day. Naturally, it picks up smudges, fingerprints, and even pocket lint. And that layer of gunk? Yeah, it’s ruining your shots.All you need is a microfiber cloth (or your T-shirt in a pinch—no judgments here) to gently clean the lens. That one swipe can go from cloudy to crystal clear. Trust me, you’ll notice the difference immediately.
2. Get to Know Your Camera Settings
Most people never even open the settings on their camera app. But if you want to capture better photos, it's time to poke around a bit.Play with these settings:
- HDR (High Dynamic Range): Great for bright and shadowy scenes. It blends multiple exposures into one balanced image.
- Gridlines: Turn these on to use the rule of thirds and frame your subject better.
- Pro or Manual Mode: If your phone has this, you're golden. You can control ISO, shutter speed, and white balance—like having a mini DSLR in your pocket.
It’s like swapping auto-pilot for full control. Scary at first, but it’ll unlock next-level photos.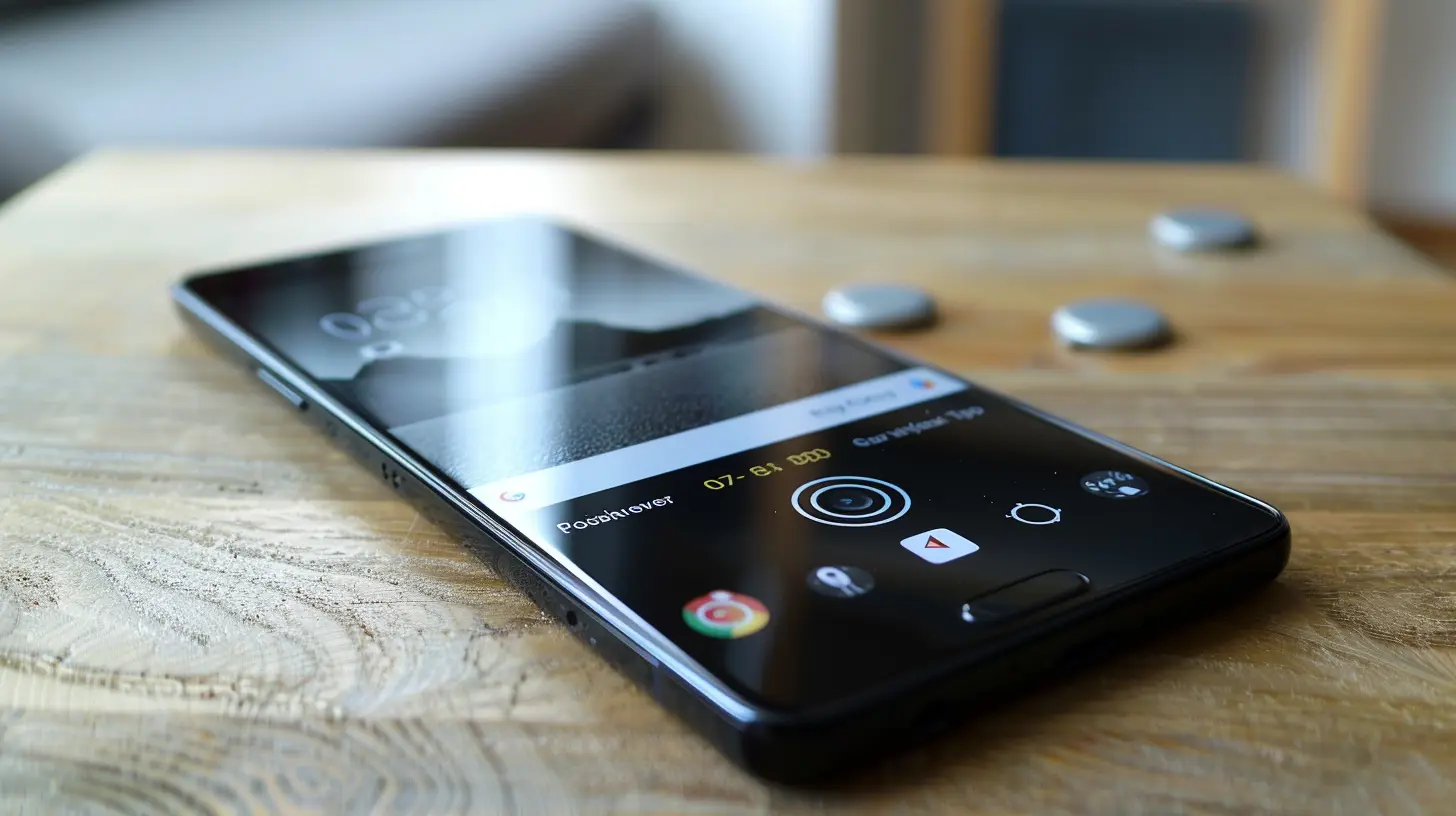
3. Lighting Is Everything
You know what can make or break your photo in seconds? Lighting. Even the fanciest phone camera can’t save a poorly lit shot.Here’s how to use light like a pro:
- Natural light wins. Always.
- Shoot near windows, in the golden hour (sunrise or sunset), or under soft shade.
- Avoid using the built-in flash—it usually overexposes and flattens your subject.
Try this: hold your hand out and move around. When you see the shadows soften and your skin looks even, you've found the sweet spot of lighting.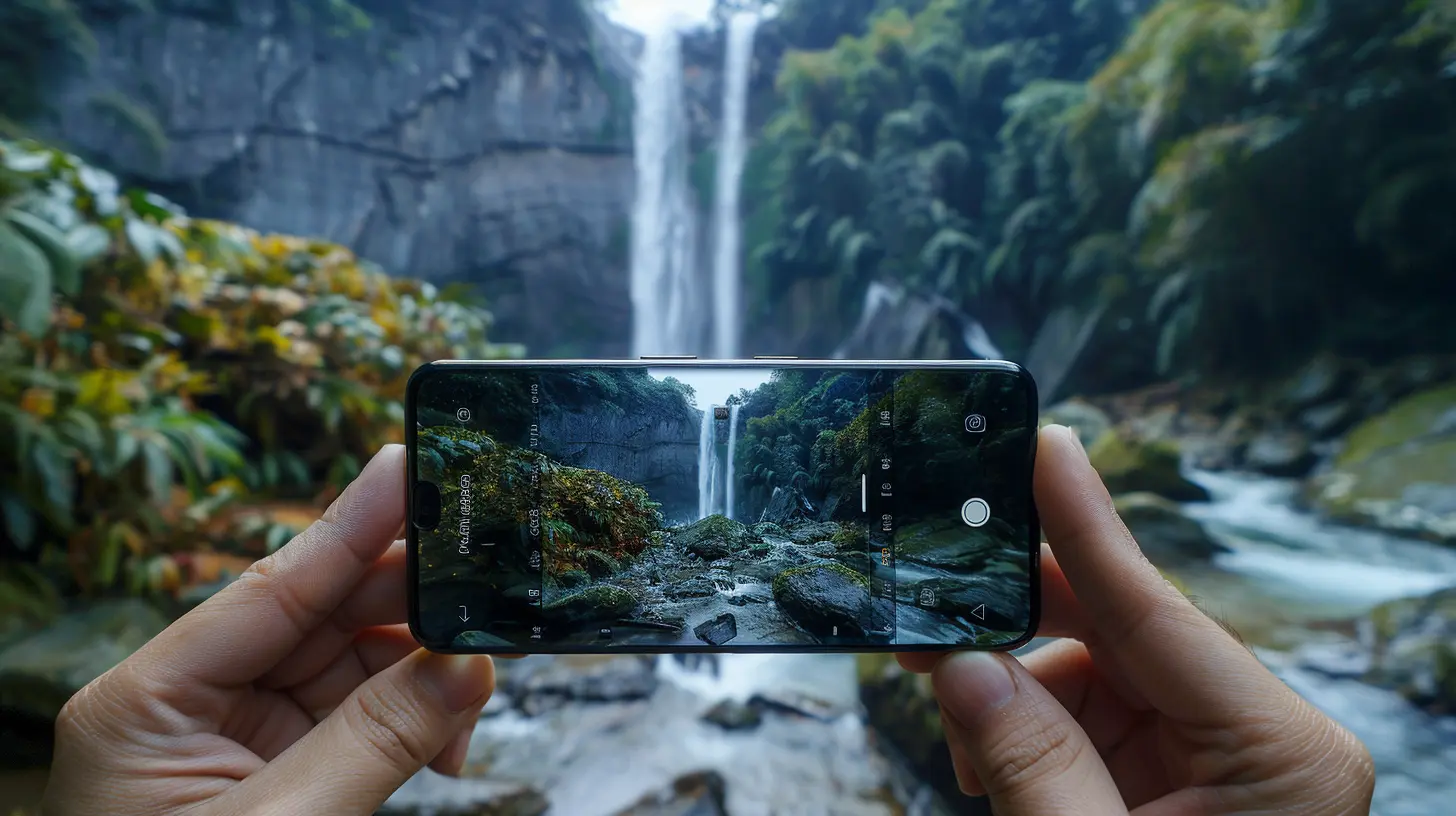
4. Tap to Focus and Adjust Exposure
This one’s a gem. Most people don’t realize their camera can do this.Before shooting, tap on your subject on the screen. A little square or circle will pop up—that’s your focus point. Some phones will also show a sun icon next to it. That’s where the magic happens: slide it up or down to control the exposure (brightness).
It’s like dimming or brightening your room lights. Easy peasy, but it gives you control over how your final image looks.
5. Don’t Zoom—Move
Digital zoom is cheating. And not the good kind.Zooming in with your fingers just crops the image and makes it blurrier. Instead, physically move closer to your subject. You'll retain more detail and sharpness that way.
Think about it like this: would you rather see a painting in person or look at a zoomed-in photo of it? Same logic.
6. Use Third-Party Camera Apps
Your stock camera app is good, but it’s not the only option in town.There are tons of third-party apps that offer more features, manual controls, and better image processing:
- ProCam (iOS)
- Camera FV-5 (Android)
- Halide (iOS)
- Open Camera (Android)
Take a couple for a spin. You might be surprised how much better your photos look just by switching the app you use to take them.
7. Stabilize That Shot
Nothing ruins a photo faster than blur from shaky hands. Especially in low light, even the tiniest movement can make a mess of things.Here’s how to steady your hands:
- Hold your phone with both hands.
- Tuck your elbows into your body.
- Use a wall, post, or object to lean against.
Better yet, invest in a small tripod or gimbal. These tools are life-savers for night shots, long exposures, and anything where stability is a must.
8. Play With Perspectives and Angles
If all your photos are taken standing at eye-level, straight ahead, they’re probably starting to look a little... samey.Mix it up! Try:
- Low angles to make things feel dramatic.
- High angles for a bird’s-eye vibe.
- Dutch tilt (slightly tilted camera) for artistic flair.
Changing the perspective can totally change the mood and story of your photo. Get low, climb high, tilt your phone—whatever it takes to frame the shot differently. Treat your camera like it’s your paintbrush.
9. Edit (But Don’t Overdo It)
Editing should enhance, not overwhelm.There are tons of amazing editing apps out there:
- Snapseed (free and feature-packed)
- Lightroom Mobile
- VSCO
- PicsArt
Stick to adjusting:
- Brightness
- Contrast
- Sharpness
- Vibrance/Saturation
Avoid cranking up every slider all the way. A light touch can make a pic pop without making it look like a cartoon.
10. Shoot in RAW (If You Can)
If your phone allows it, shoot in RAW format instead of JPEG. RAW captures all the data from the sensor without compressing it.Why does that matter? Simple: You get way more flexibility when editing. You can recover blown-out highlights, pull details from shadows, and tweak colors without degrading quality.
It's like cooking a meal from scratch instead of using a microwave dinner—you control every ingredient.
11. Use Portrait Mode Wisely
Portrait mode can make your subject pop by blurring the background (bokeh style). It’s perfect for people, pets, and even objects.But here's the catch—it doesn’t always nail the edge detection, especially around hair or hands. Use it when:
- There's good lighting.
- The subject isn’t too close or too far.
- The background is at a reasonable distance.
Double-check the edges before calling it a masterpiece. A small tweak in editing can often fix any weird blur zones.
12. Keep Your Software Updated
This one sounds boring, but hear me out.Phone manufacturers are constantly pushing updates that improve photo processing, camera capabilities, and even fix bugs in the camera app. So if your photos suddenly start looking better after an update? That’s not a fluke.
Go to your settings and make sure you’re running the latest OS and camera app version. You might be surprised how much cleaner your shots look afterward.
13. Use Burst Mode for Action Shots
Trying to snap the perfect shot of your kid mid-jump or your dog catching a frisbee? You’ll miss it almost every time with a single tap.Enter burst mode—just hold down the shutter button and your phone will take a rapid series of shots. You can then pick the best one with perfect timing.
It’s like having a time machine that gives you a second chance at the perfect moment.
14. Know When to Use the Ultra-Wide and Telephoto Lenses
Modern smartphones often come with multiple lenses—standard, ultra-wide, and telephoto. Each serves its own purpose.- Ultra-Wide: Great for landscapes and tight indoor shots.
- Telephoto: Perfect for portraits and bringing far subjects closer.
- Standard/Wide: Your go-to lens for everyday shooting.
Don't let those extra lenses collect digital dust. Switch them up depending on your scene. Think of them as different brushes in your photography toolkit.
15. Practice, Practice, Practice
Look, no list of tips can replace good old-fashioned trial and error. The more you shoot, the better you get.Try different lighting conditions, subjects, and editing styles. Review your shots and think: What worked? What didn’t? What could look better next time?
Photography is as much about the eye behind the lens as the lens itself.
Final Thoughts
Improving your smartphone camera quality doesn’t mean spending a dime. Small habits—like wiping your lens, understanding lighting, and playing with different angles—can give your photos that “wow” factor.Remember, the best camera is the one you have with you. And with a bit of effort and creativity, that little lens in your pocket can do some truly amazing things.
So the next time you reach for your phone to snap a shot, try out a few of these tips. Who knows? You might just capture something frame-worthy.
all images in this post were generated using AI tools
Category:
Tech TutorialsAuthor:

Vincent Hubbard
Discussion
rate this article
2 comments
Faelan Martin
This article offers valuable insights for enhancing smartphone camera quality. The tips are practical and accessible, making it easier for users to capture better photos without needing professional equipment.
November 4, 2025 at 1:23 PM
Vincent Hubbard
Thank you for your feedback! I'm glad you found the tips practical and helpful for improving smartphone photography.
Stacey Riley
Wow, what an exciting read! These quick tips are a game changer for anyone looking to elevate their smartphone photography. Can't wait to try them out and capture stunning pics! Keep spreading the joy of photography! 📸✨
June 22, 2025 at 5:06 AM
Vincent Hubbard
Thank you so much! I'm glad you found the tips helpful. Happy shooting and can’t wait to see your amazing photos! 📸✨