A Beginner’s Guide to Installing and Managing WordPress
28 February 2026
So, you’ve decided to build your own website using WordPress? Great choice! Whether you’re setting up a blog, an online store, or a portfolio, WordPress is the go-to platform for beginners and pros alike.
But let’s be honest—installing and managing WordPress can feel a bit overwhelming at first, right? Don’t worry. I’ve got your back! In this guide, we’ll walk through everything you need to know, step by step, to get your WordPress site up and running smoothly. 
📌 Why WordPress?
Before we dive into the nitty-gritty of installation, let’s quickly discuss why WordPress is such a popular choice:✅ User-Friendly – No coding skills? No problem! WordPress makes website building super simple.
✅ Highly Customizable – With thousands of themes and plugins, you can make your site truly unique.
✅ SEO-Friendly – WordPress is built with SEO best practices in mind.
✅ Scalability – Whether you want a personal blog or a full-scale eCommerce store, WordPress scales with you.
✅ Huge Community Support – Got an issue? There’s a high chance someone else has faced (and solved) it before.
Now that you know why WordPress is awesome, let’s get into the fun part—installation! 
🛠 Methods for Installing WordPress
There are a few ways to install WordPress, depending on your experience level and hosting provider:1. One-Click Installation (Recommended for Beginners)
2. Manual Installation (For Those Who Want More Control)
Let’s break them down. 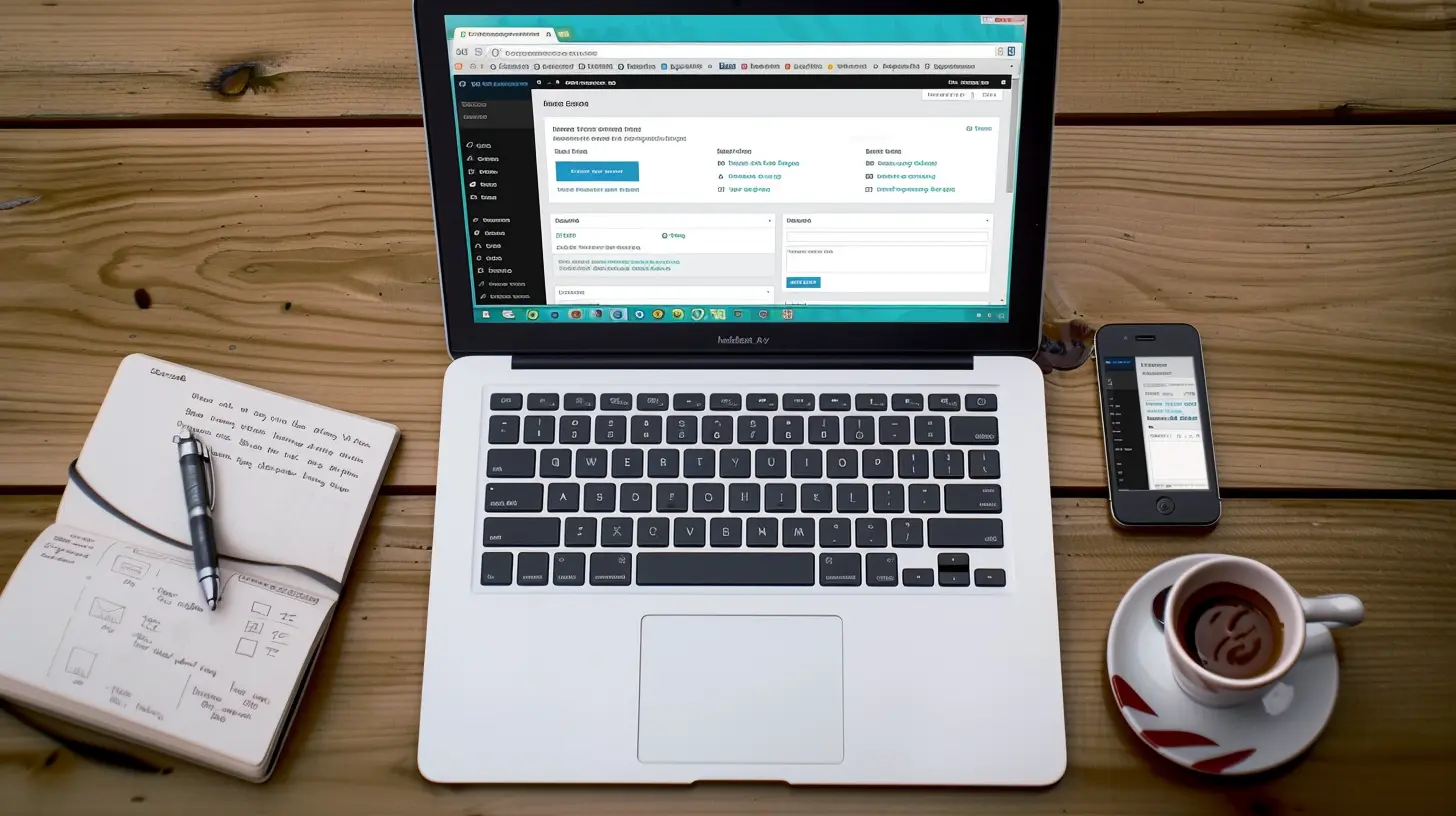
🔹 One-Click WordPress Installation
Most web hosting services offer a one-click install feature, making the process super easy. Here’s how:Step 1: Choose a Hosting Provider
Before you install WordPress, you’ll need a hosting provider. Some of the best options include:- Bluehost
- SiteGround
- Hostinger
- A2 Hosting
Once you’ve signed up, you’ll gain access to your hosting control panel (cPanel or a custom dashboard).
Step 2: Find the WordPress Installer
Most hosting providers include WordPress installers like:- Softaculous
- Fantastico
- SiteGround’s Auto-Installer
You’ll typically find the installer under the “Website” or “WordPress” section of your hosting dashboard.
Step 3: Start the Installation Process
Here’s what you need to do:1. Click on the WordPress Installer
2. Select your domain where you want to install WordPress
3. Fill in your website name, admin username, and password
4. Hit Install
And that’s it! Your website will be ready in just a few minutes. 
🔹 Manual WordPress Installation (For More Control)
Prefer doing things the old-school way? Manual installation gives you more control over configurations. Here’s how:Step 1: Download WordPress
Go to the official WordPress.org download page and grab the latest version.Step 2: Upload to Your Hosting Account
Use cPanel or an FTP client (like FileZilla) to upload the WordPress files to your public_html folder.Step 3: Create a Database
1. Login to cPanel2. Go to MySQL Databases
3. Create a new database and assign a user with full privileges
Step 4: Configure the wp-config.php File
1. Locate wp-config-sample.php2. Rename it to wp-config.php
3. Edit the file and enter your database details
Step 5: Run the Installation Script
Go to `yourwebsite.com/wp-admin/install.php` and follow the on-screen instructions.That’s it! You’re now the proud owner of a freshly installed WordPress website. 🎉
🎨 Choosing a WordPress Theme
Now that WordPress is installed, it’s time for customization!How to Install a Theme:
1. Go to Appearance > Themes in your WordPress dashboard2. Click Add New and browse through the free themes
3. Click Install, then Activate
Want something more unique? Consider premium themes from:
- ThemeForest
- Elegant Themes
- StudioPress
A great theme makes a HUGE difference in how your site looks and feels. Choose wisely!
🔌 Must-Have WordPress Plugins
Plugins add extra functionality to your site. Here are some essentials:🚀 SEO: Yoast SEO – Helps optimize your site for search engines.
🛡 Security: Wordfence – Protects your site from hackers.
⚡ Caching: WP Rocket – Speeds up your website.
🔎 Analytics: MonsterInsights – Google Analytics integration.
💌 Contact Forms: WPForms – Easy drag-and-drop form builder.
Installing a plugin is as easy as:
1. Go to Plugins > Add New
2. Search for the plugin
3. Click Install, then Activate
Just don’t go overboard—too many plugins can slow down your site!
🛠 Managing Your WordPress Website
1️⃣ Keep WordPress Updated
Regular updates improve security and performance. To update:- Go to Dashboard > Updates
- Click Update Now
Done! 🎯
2️⃣ Backup Your Website
Always, always, always back up your site. Use plugins like:- UpdraftPlus
- VaultPress
This way, if something goes wrong, you won’t lose everything.
3️⃣ Secure Your Website
Hackers love outdated WordPress sites. Keep yours secure by:- Using strong passwords
- Enabling two-factor authentication (2FA)
- Installing a security plugin
4️⃣ Optimize Website Speed
A slow website drives visitors away. Keep it fast by:- Using a lightweight theme
- Optimizing images with Smush
- Enabling caching with WP Rocket
💡 Final Thoughts
Setting up a WordPress site might seem tricky at first, but once you get the hang of it, it’s a breeze. Whether you use a one-click install or go manual, the key is to keep your site updated, secure, and optimized.So what’s next? Start playing around, experiment with themes and plugins, and most importantly—have fun building your dream website!
all images in this post were generated using AI tools
Category:
Tech TutorialsAuthor:

Vincent Hubbard
Discussion
rate this article
2 comments
Scout Dillon
Don’t hesitate! Dive into WordPress with confidence. It’s not just for techies—creativity thrives here. Embrace the challenge and unleash your potential. Get started now!
March 14, 2026 at 5:38 AM
Vincent Hubbard
Thank you! I totally agree—WordPress is a fantastic platform for unleashing creativity, and I hope this guide helps beginners get started with confidence!
Maura Patel
Thank you for this insightful guide! It’s perfect for beginners looking to navigate the world of WordPress. I appreciate the clear steps and helpful tips provided. It’s great to have a resource that simplifies the installation and management process. Looking forward to more articles like this in the future!
February 28, 2026 at 12:05 PM
Vincent Hubbard
Thank you for your kind words! I'm glad you found the guide helpful. Stay tuned for more articles!