How to Get the Best Aerial Shots with Your Drone
26 July 2025
Drones have completely changed the game when it comes to photography and videography. Whether you're capturing breathtaking landscapes, real estate shots, or fast-paced action footage, drones give you the power to get angles that were once impossible. But simply owning a drone isn't enough—getting those cinematic, jaw-dropping aerial shots takes skill, technique, and a bit of creativity.
So, how do you go from basic drone shots to truly epic aerial footage? In this guide, we’ll break down everything you need to know to master aerial photography with your drone, from camera settings to flight techniques. Let’s get started!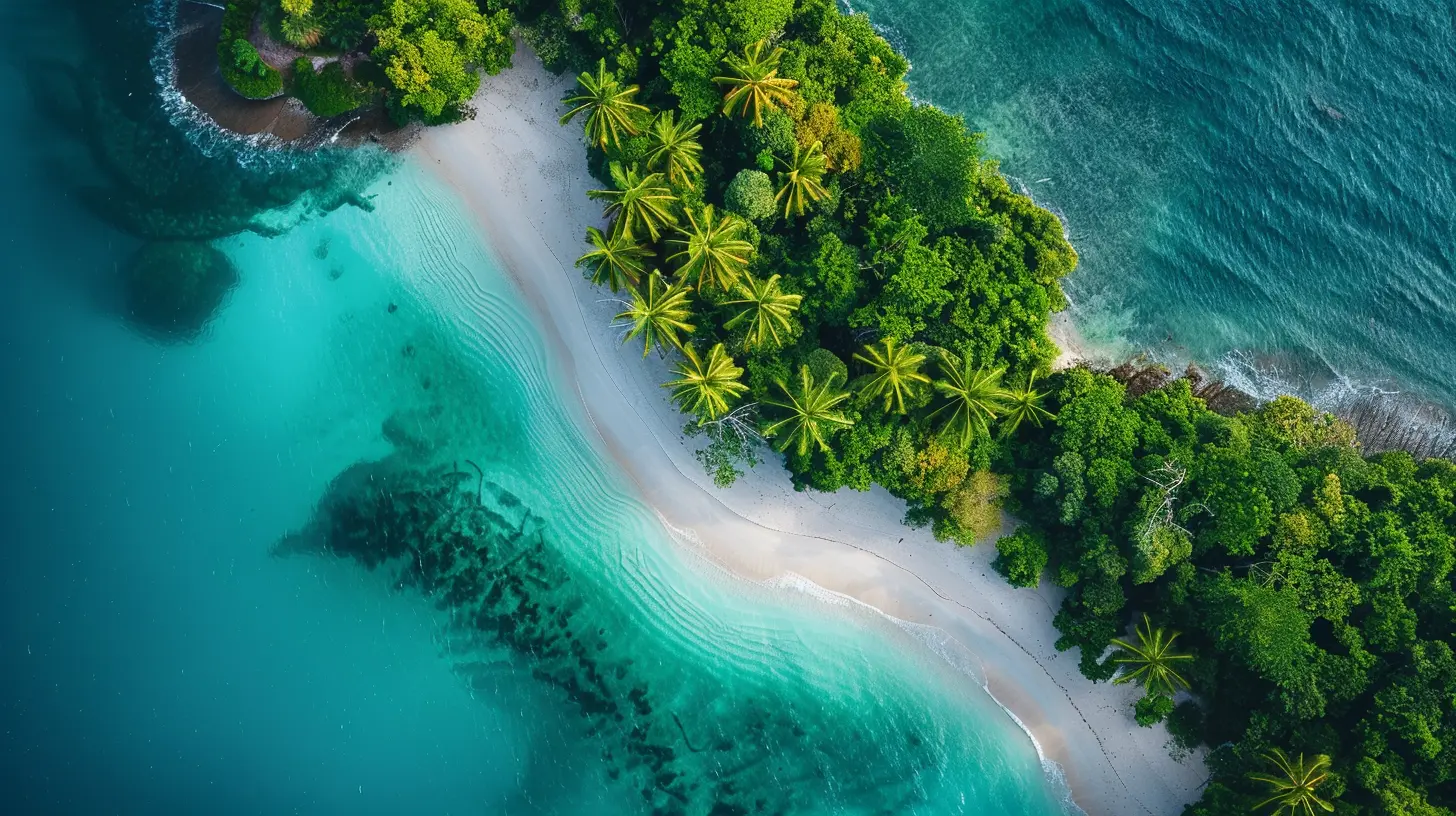
1. Choose the Right Drone for the Job
Not all drones are created equal. If you want top-tier aerial shots, you’ll need a drone designed for photography and videography. Here’s what to consider:Camera Quality
- Look for at least 4K resolution for crisp, high-definition footage.- Check for adjustable aperture for better control over lighting.
- A 1-inch sensor or larger helps capture better dynamic range and low-light shots.
Stabilization & Gimbal
- A 3-axis gimbal is a must for smooth and steady shots.- Optical image stabilization helps reduce shaky footage.
Flight Time & Range
- Aim for at least 25-30 minutes of flight time to get more shots per session.- A drone with a longer transmission range lets you capture shots from farther away.
If you’re serious about aerial photography, drones like the DJI Mavic 3 Pro or Autel EVO Lite+ are excellent choices.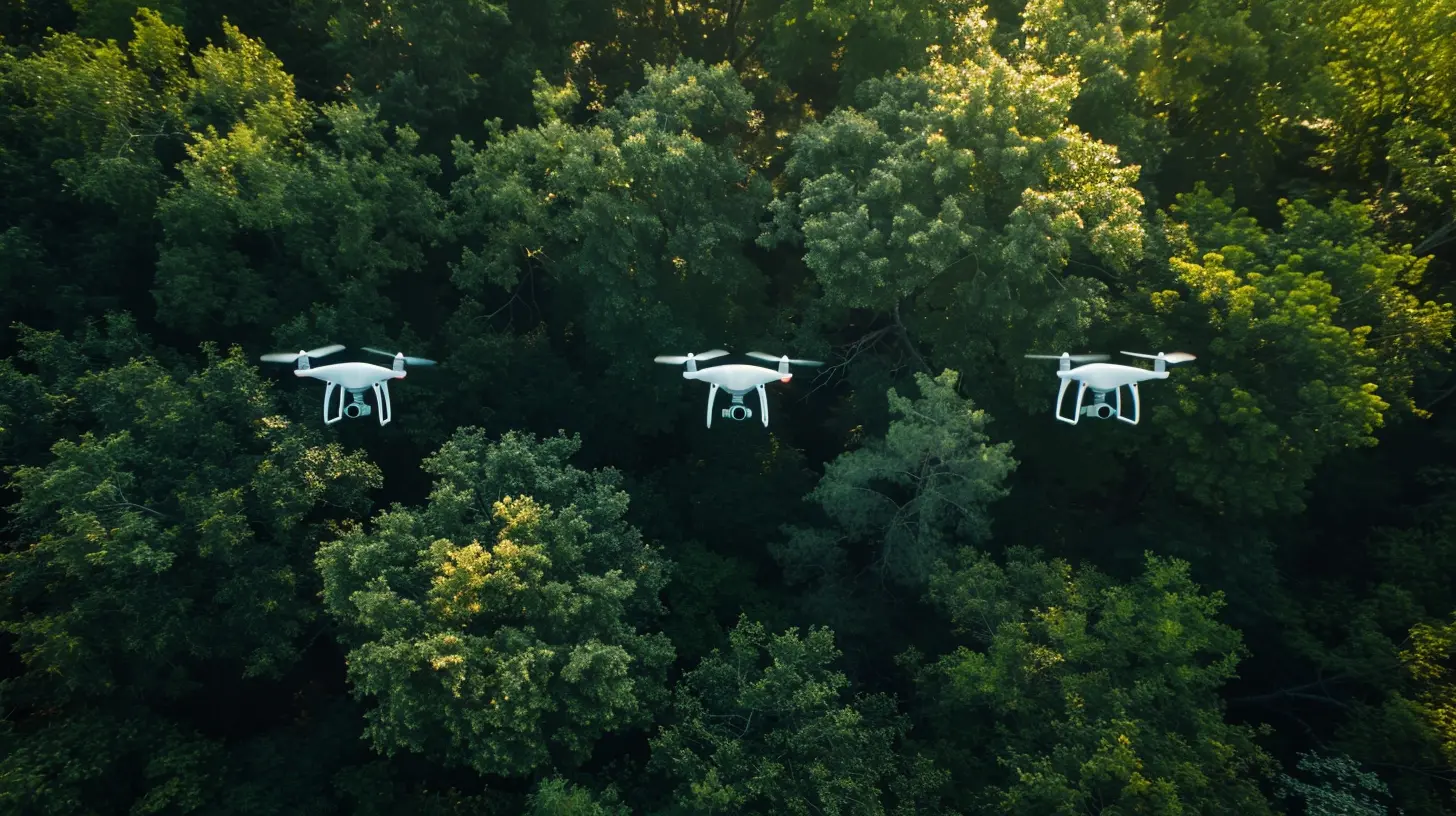
2. Master Your Drone’s Camera Settings
Auto mode won’t cut it if you want cinematic aerial footage. Here’s how to adjust your camera settings for the best results:Resolution & Frame Rate
- 4K at 30fps or 60fps is ideal for professional-quality video.- 120fps+ is great for slow-motion shots.
Shutter Speed
- Follow the 180-degree rule: Set your shutter speed at double your frame rate (e.g., 1/60s for 30fps video).- Use ND (Neutral Density) filters to control exposure without changing shutter speed.
ISO & Aperture
- Keep ISO as low as possible (100-400) to reduce noise.- If your drone has an adjustable aperture, start with f/2.8 to f/5.6 for well-balanced exposure.
White Balance
- Set a manual white balance to avoid inconsistent color tones.- Adjust based on lighting conditions (e.g., 5600K for daylight).
3. Plan Your Shots Before You Fly
Flying your drone aimlessly won’t get you cinematic footage. A little planning goes a long way.Scout Your Location
- Use Google Maps or drone apps like DroneDeploy to check out the area.- Look for interesting landscapes, landmarks, or patterns from above.
Check the Weather
- Avoid flying in strong winds or extreme weather conditions.- The best lighting is often during golden hour (just after sunrise or before sunset).
Create a Shot List
Decide on specific shots beforehand:- Reveal shot: Start behind an object and gradually move backward to reveal the scene.
- Orbit shot: Circle around your subject for a dynamic view.
- Dolly-in/Dolly-out: Move forward or backward to create a cinematic effect.
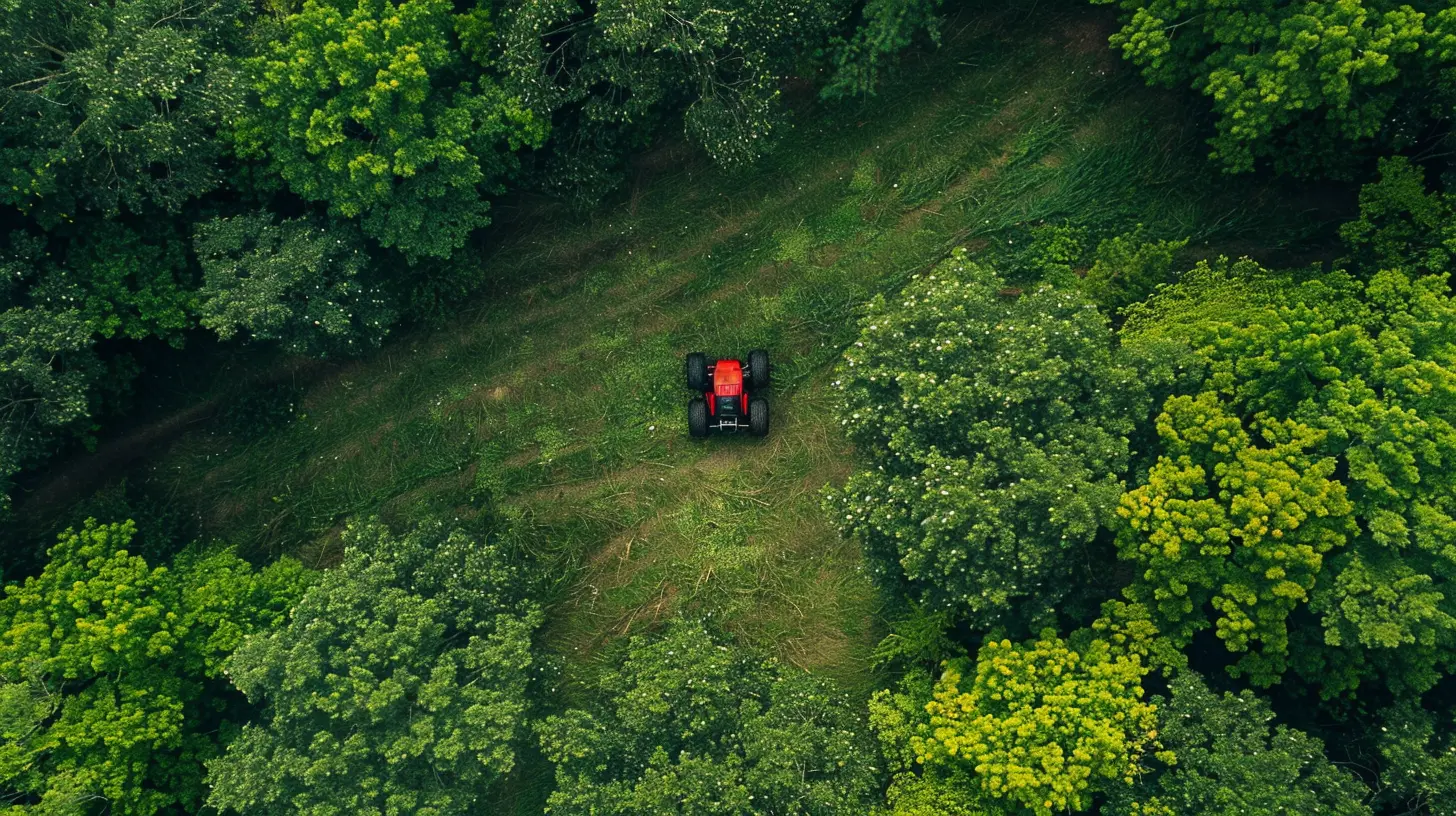
- Top-down view: A straight-down shot can create unique perspectives.
4. Use Smooth & Controlled Movements
Jerky movements can ruin an otherwise great shot. Here’s how to keep things smooth:Adjust Your Drone's Sensitivity
- Lower the gimbal tilt speed for slower, more controlled motion.- Adjust the expo settings to make stick movements less sensitive.
Fly in Cinematic Mode
Most drones have a Cine Mode (or Tripod Mode) which slows down movements for smoother footage.Use Two-Control Stick Techniques
- Instead of moving in just one direction, combine yaw (rotation) and forward/backward movement for dynamic motion.- Practice combining tilt, pan, and movement to create professional shots.
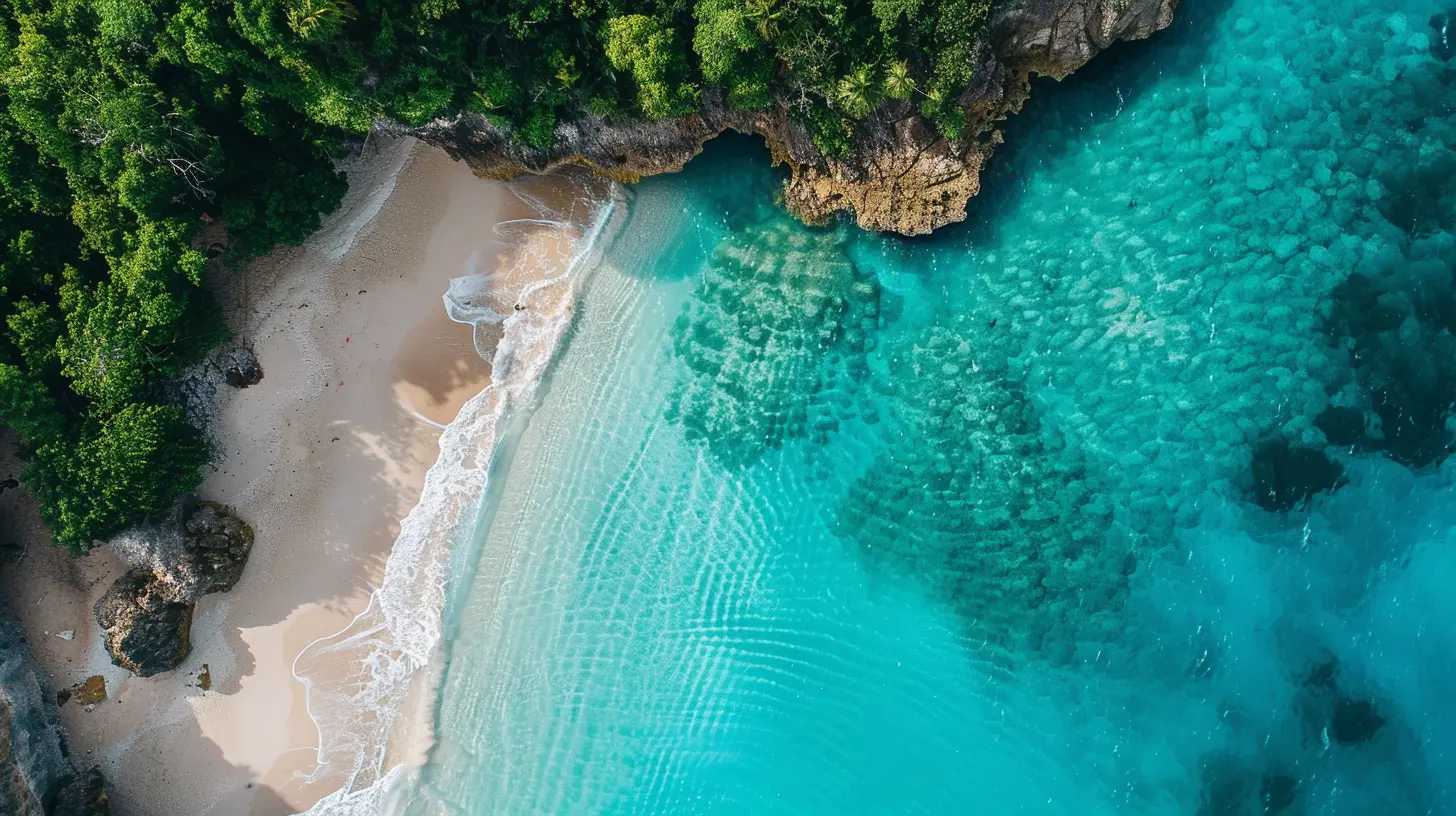
5. Utilize Composition Techniques
Just like traditional photography, composition matters when shooting aerial footage.Rule of Thirds
Enable your drone’s grid lines and position key elements at the intersection points.Leading Lines
Find roads, rivers, or natural lines that guide the viewer’s eye through the frame.Symmetry & Patterns
Aerial shots can reveal hidden symmetry and geometric patterns in nature and urban scenes.Depth & Layers
Flying at different altitudes and angles can add depth to your shots.6. Nail the Lighting & Time of Day
Lighting can make or break your aerial shots. The best times to shoot are:Golden Hour (Best)
- Soft, warm lighting enhances colors and details.- Creates long shadows that add depth.
Blue Hour (Before Sunrise/After Sunset)
- Gives a cinematic moody effect.- Requires good low-light performance.
Midday (Worst)
- Harsh lighting and strong shadows.- Can be challenging to expose properly.
If you must shoot in midday, use ND filters to balance the exposure.
7. Edit Your Footage for a Cinematic Look
Shooting is only half the battle—editing can take your footage to the next level.Color Grading
- Use software like Adobe Premiere Pro, Final Cut Pro, or DaVinci Resolve.- Apply a LUT (Look-Up Table) to give your footage a professional color tone.
Stabilization
Use built-in stabilization tools in editing software to smooth out any minor shakes.Slow Motion & Speed Ramping
Changing the speed of certain shots can add drama and emphasis.Sound Design
Good background music and ambient sounds can enhance the mood of your video.8. Follow Drone Safety and Legal Guidelines
Before you take off, remember that drone regulations vary by country. Here’s what you should keep in mind:Register Your Drone
- In many countries like the USA (FAA) and UK (CAA), drones over a certain weight must be registered.Follow No-Fly Zones
- Use apps like AirMap or B4UFLY to check restricted airspace.Keep Line of Sight
- Always keep your drone within visual range.Respect Privacy
- Never fly over private property without permission.Breaking these rules can result in fines or legal trouble, so stay aware of the regulations in your area.
9. Practice, Practice, Practice!
Like any skill, getting great aerial shots takes practice. Make time to fly regularly, experiment with different techniques, and analyze your footage to see what works and what doesn’t.Challenge yourself with different locations and lighting conditions. The more you fly, the better you’ll get at capturing those stunning, cinematic shots.
Final Thoughts
Mastering drone photography isn’t just about having fancy gear—it’s about understanding lighting, composition, and flight techniques. With the right approach and some practice, you’ll be able to capture breathtaking aerial shots that stand out.So, charge those batteries, plan your shots, and get ready to take your drone cinematography to the next level. Happy flying!
all images in this post were generated using AI tools
Category:
DronesAuthor:

Vincent Hubbard
Discussion
rate this article
2 comments
Lyla Meyers
Great tips on capturing stunning aerial imagery! The advice on angles and settings is particularly useful.
April 6, 2026 at 2:37 AM
Vincent Hubbard
Thank you! I'm glad you found the tips helpful. Happy flying!
Malia McEvoy
Great tips! Just remember, every drone flight is a new adventure! Embrace the learning curve, and don’t forget to have fun capturing those stunning aerial views. With practice, your shots will soar to new heights! Happy flying! 🚁✨
August 11, 2025 at 10:56 AM
Vincent Hubbard
Thank you! I love the reminder to embrace the journey and have fun while capturing those amazing views! Happy flying to you too! 🚁✨