Mastering the Art of 3D Printing: A Complete Tutorial
30 July 2026
Ever dreamed of turning your creative ideas into real-world objects? Like holding your imagination in your hands? That’s the magic of 3D printing—and trust me, once you dive in, it’s hard to look back. Whether you're completely green or have dabbled a bit, this tutorial is your go-to guide to mastering the art of 3D printing.
We’re not just talking about pressing a single button and hoping for the best. Nope. We're going to dig into the nitty-gritty—hardware, software, materials, tips, tools, and the inevitable fails (because, yes, there will be a few).
Let’s get messy in the best way possible!
? What is 3D Printing, Really?
Let’s start with the basics. 3D printing, also known as additive manufacturing, is the process of creating three-dimensional objects layer by layer from a digital file. Think of it like building a cake. Each layer is laid down on top of the last until voilà—you’ve got a finished piece.Sounds simple, right? Well, yes and no. The concept is straightforward, but there's a whole world beneath the surface. Lucky for you, this guide is designed to make that world less intimidating.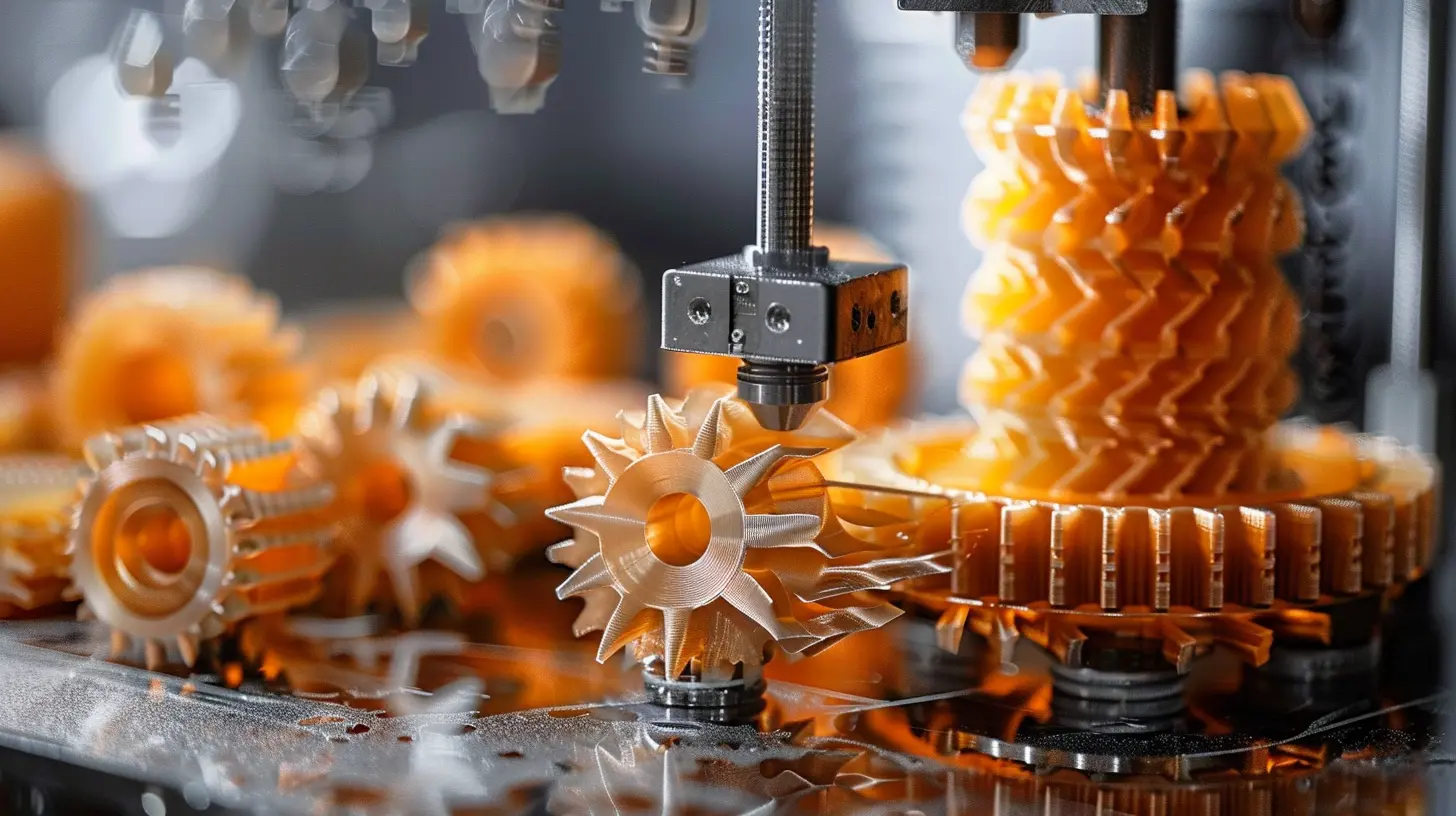
? Step 1: Choosing Your 3D Printer
So you’ve decided to take the plunge—but what printer should you get?Honestly, it depends on your goals and your budget. Here’s a quick breakdown of popular types:
FDM Printers (Fused Deposition Modeling)
- Best for Beginners- Affordable and easy to use
- Works by melting plastic filament and layering it
SLA Printers (Stereolithography)
- Better for High-Detail Work- Uses liquid resin and UV light
- Cleaner finish, but messier and more expensive
SLS Printers (Selective Laser Sintering)
- Pro-Level Stuff- Uses powdered material fused by a laser
- Not for casual hobbyists (think industrial applications)
If you’re starting out, grab a solid FDM printer like the Creality Ender 3 or Prusa i3 MK3. They're budget-friendly and have a massive community for support.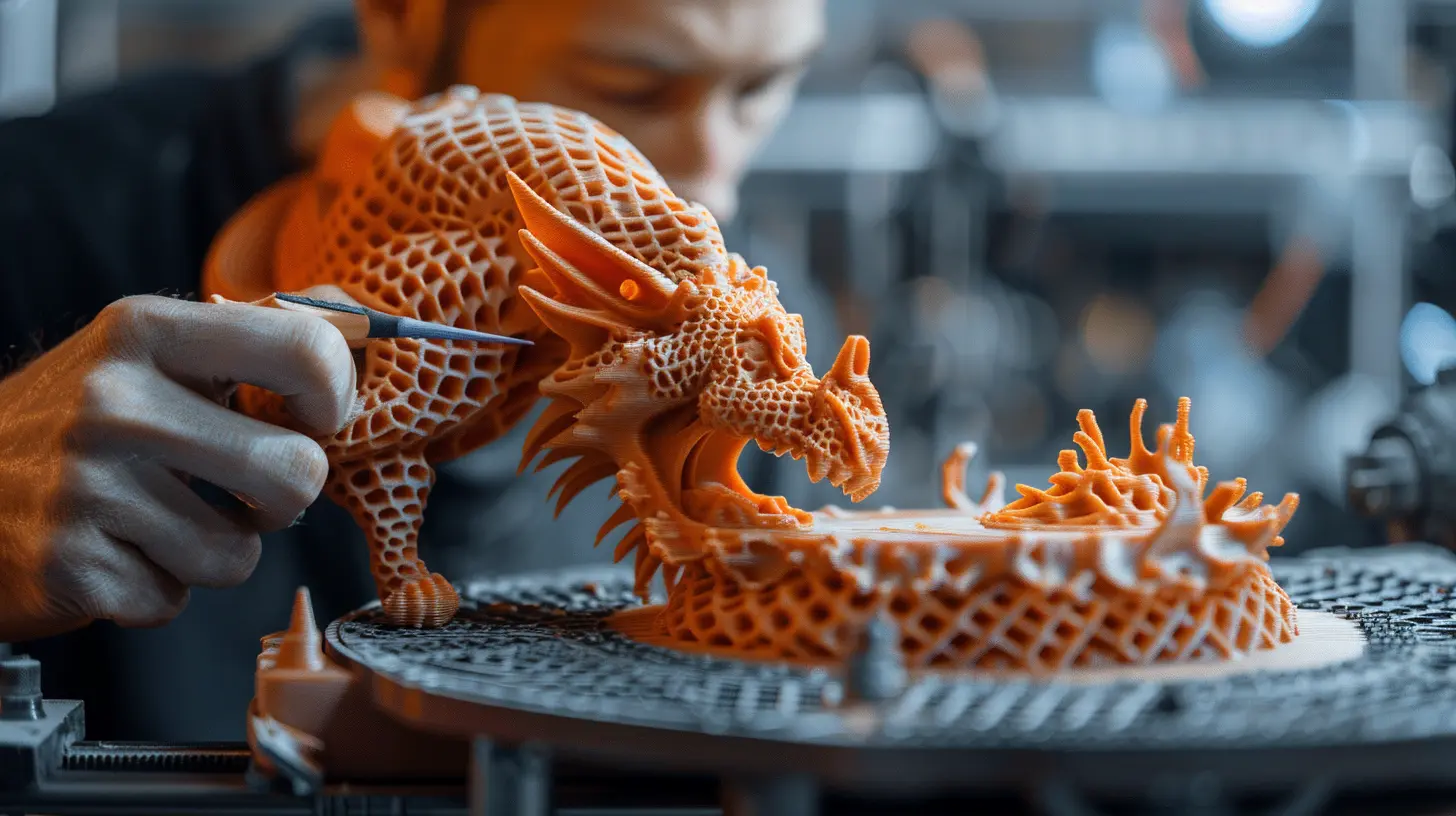
?️ Step 2: Getting the Right Tools and Software
Your printer’s just the beginning. Let’s talk about your digital toolbox.3D Modeling Software
Want to create your own designs? Here are your go-to picks:- TinkerCAD – Great for beginners, free, browser-based
- Fusion 360 – More advanced, free for personal use
- Blender – Super powerful (and free), great for artistic designs
Slicing Software
Before your printer can do anything, you need to “slice” your 3D model into layers.- Cura – Free and user-friendly
- PrusaSlicer – Made for Prusa printers but works broadly
- Simplify3D – Paid software with deep customization options
The slicer turns your model into G-code, which tells the printer what to do, line by line.
? Step 3: Choosing Filament Types
Remember the cake analogy? The filament is your frosting—or maybe the flour. Either way, it matters a lot.Here are some common filament types:
PLA (Polylactic Acid)
- Beginner-friendly- Low warping
- Not super heat-resistant
ABS (Acrylonitrile Butadiene Styrene)
- Stronger, more durable- Requires higher temp and a heated bed
- Can warp and smells bad when printing
PETG (Polyethylene Terephthalate Glycol)
- Great balance of strength and ease-of-use- A little more flexible than PLA
TPU (Thermoplastic Polyurethane)
- Flexible and rubbery- Tricky to print with, but cool results
If you're just starting out, go with PLA. It’s forgiving and works well with most printers.
? Step 4: Your First Print
Excited? You should be. But let’s not go all-in just yet. Start with a simple object—like a calibration cube or a phone stand.Tips for a Successful First Print
1. Level Your Bed – Trust me, this is crucial.2. Check Your Nozzle Height – Your first layer should stick perfectly.
3. Use the Right Temps – PLA likes around 200°C for the nozzle and 60°C for the bed.
4. Don’t Leave it Alone – At least for your first few prints. You’ll want to watch for issues.
Mistakes will happen. Expect them. Embrace them. Every failed print is a learning opportunity.
? Common 3D Printing Problems (And How to Fix Them)
Okay, let’s be real. 3D printing isn’t all smooth sailing. Here are a few things that can go sideways—and how to get back on track.Warping
- Happens when the print lifts from the bed- Try using a heated bed and print adhesion (like glue stick or painter’s tape)
Layer Shifting
- When your print ends up all offset- Check belts, lubrication, and make sure your printer isn’t being bumped
Stringing
- Thin threads between parts of your print- Tweak your retraction settings in the slicer
Under-Extrusion
- Gaps in layers or missing material- Could be a clog, bad filament, or incorrect nozzle temp
Don't get discouraged—every pro once stood among a graveyard of failed prints.
? Beyond the Basics: Advanced Techniques
Once you've nailed the fundamentals, it’s time to push your limits.Dual Extrusion Printing
Use two types or two colors of filament in a single print. Great for complex projects.Post-Processing
Your print doesn’t have to stop when the printer does! Sanding, painting, and assembling turns your prototype into a showpiece.3D Scanning
Want to replicate real-world objects? A 3D scanner lets you digitize just about anything.? Practical Applications of 3D Printing
You might be wondering, "Cool tech, but what’s the point?"There’s no single answer. People use 3D printing for:
- Prototyping – Rapidly test and refine ideas
- Education – Bring learning to life with tactile models
- Customization – Create one-of-a-kind tools or gifts
- Repairs – Fix stuff around the house with custom parts
- Art & Design – Sculptures, jewelry, cosplay gear—you name it
Heck, NASA even sends 3D printers into space.
? The Learning Curve: Be Patient, Be Curious
Let’s talk mindset. Yes, you’ll mess up. Yes, you’ll curse at blobs of tangled filament. But you’ll also feel the rush of watching your ideas take form—layer by microscopic layer.Be patient. Tweak your settings. Ask the community. And above all—keep printing. Mastery doesn’t come overnight, but it will come.
?️ Helpful Resources
Take advantage of the 3D printing community. It's massive and incredibly helpful. Here are some places to hang out:- Reddit – r/3Dprinting is a goldmine
- YouTube – Channels like Maker’s Muse, Thomas Sanladerer, and CHEP break things down beautifully
- Thingiverse – A massive library of free models
- MyMiniFactory – Another great site for models, often with better quality
? Keep Iterating
3D printing isn’t a one-and-done deal. It’s about iteration. About curiosity. Each print teaches you something new. Each fail is a step toward mastery.So fire up that printer. Download that slicer. Grab some filament. And get ready to bring your wildest ideas to life.
You’re not just printing plastic. You’re building the future—one layer at a time.
? Final Thoughts
Mastering 3D printing is like learning to ride a bike—clunky at first, but once you get the balance, the possibilities are endless. The tech can be frustrating, but also deeply rewarding. Whether you're building your own Iron Man helmet or repairing a broken hinge on your dishwasher, 3D printing gives you the superpower of creation.It’s not about being a perfectionist—it’s about being a maker.
all images in this post were generated using AI tools
Category:
Tech TutorialsAuthor:

Vincent Hubbard